Export
Render all of your settings into a new video file and save it to your device's gallery.
How to start
Tap the export icon in the top-right corner of the edit screen. This opens the Export screen.
Export summary
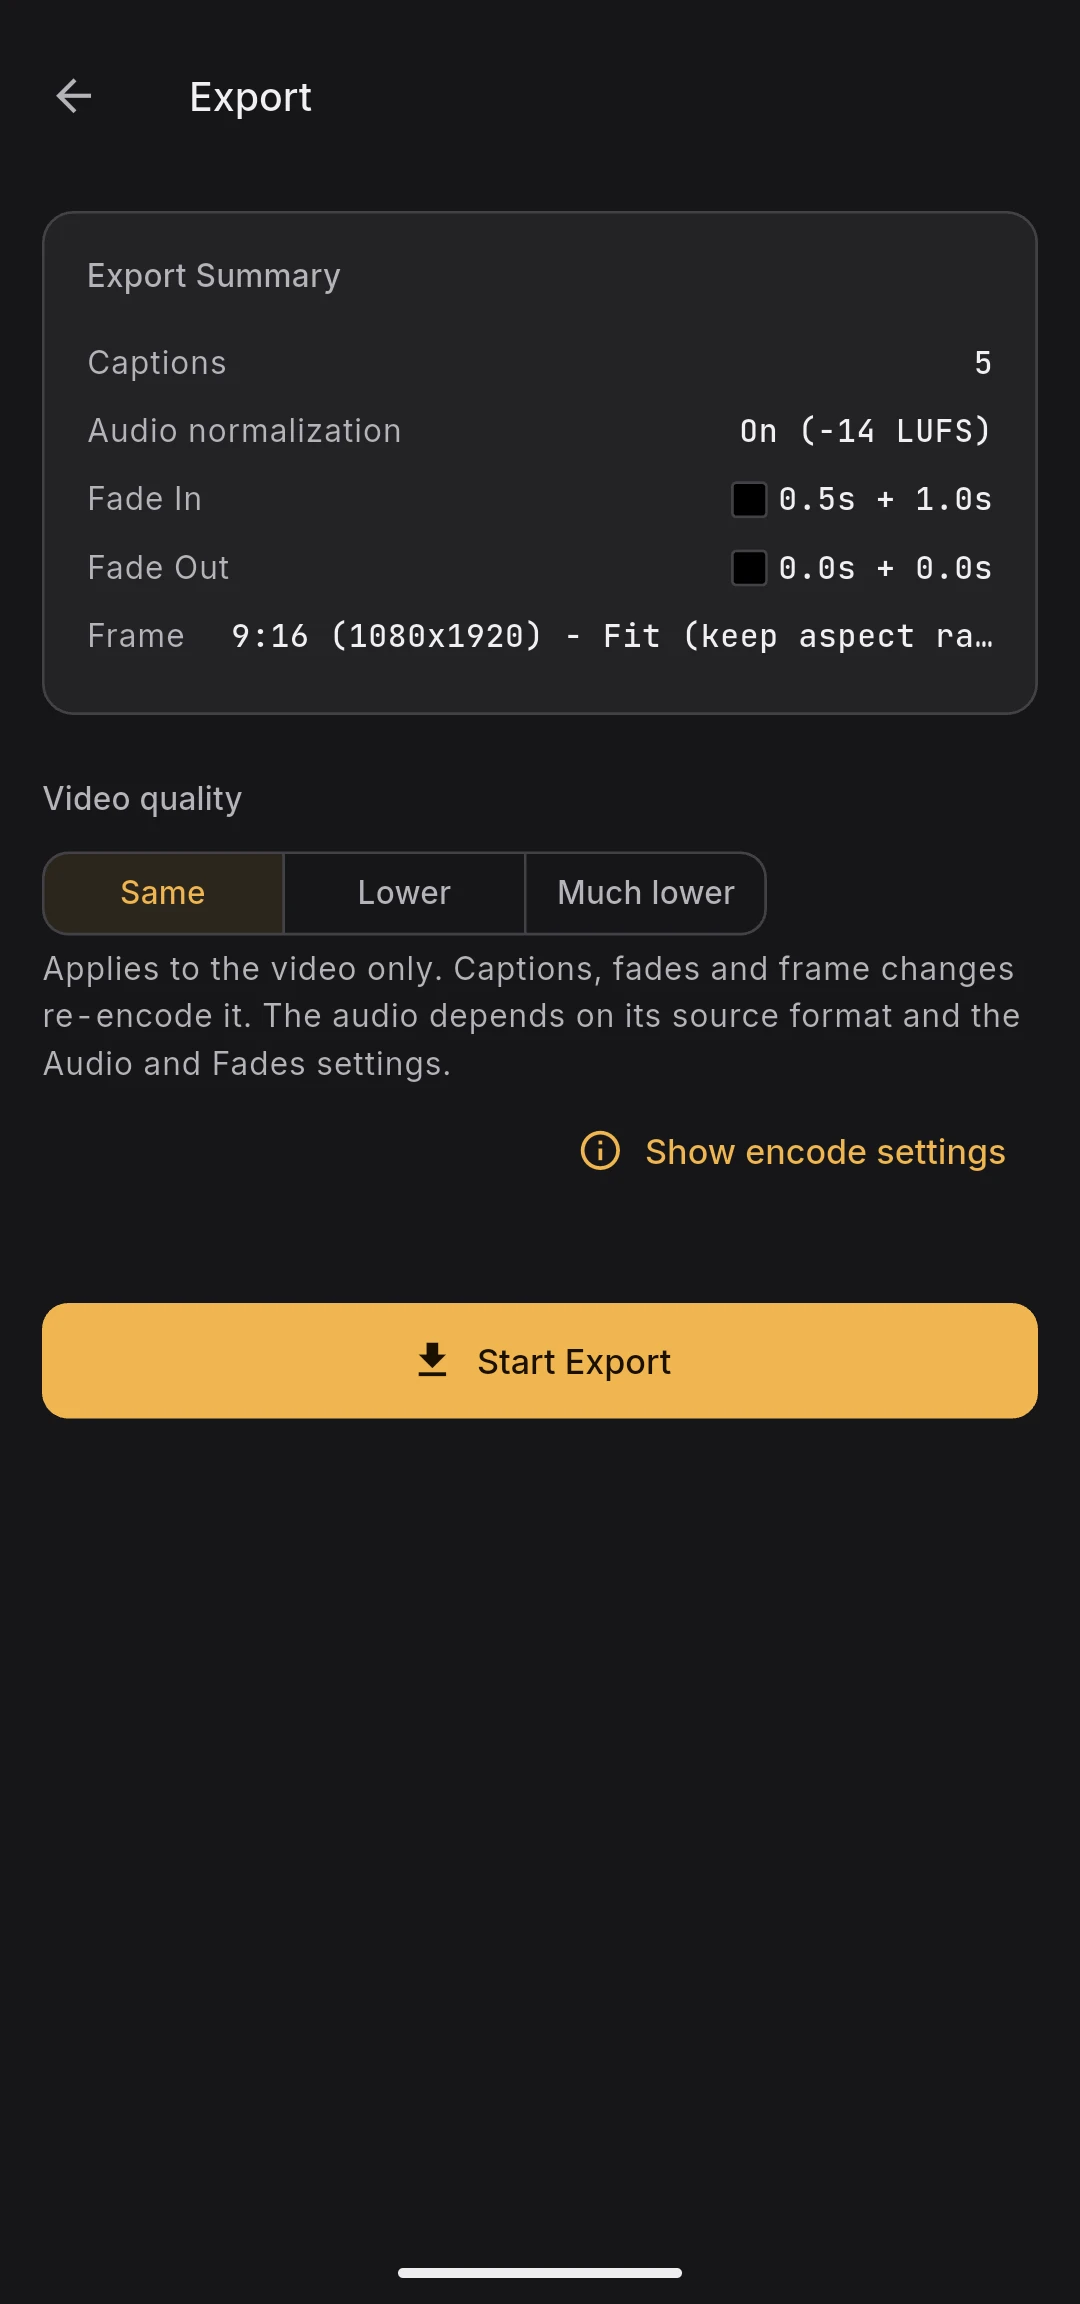
At the top of the Export screen you see a summary of everything that will be applied:
- Number of captions
- Audio normalization state (on / off, target LUFS)
- Fade in length (solid color + fade) and color
- Fade out length (fade + solid color) and color
- Frame settings (aspect ratio mode, output resolution, fill mode, and per-side padding)
Review this panel before starting — it is exactly what will end up in the output.
Video quality
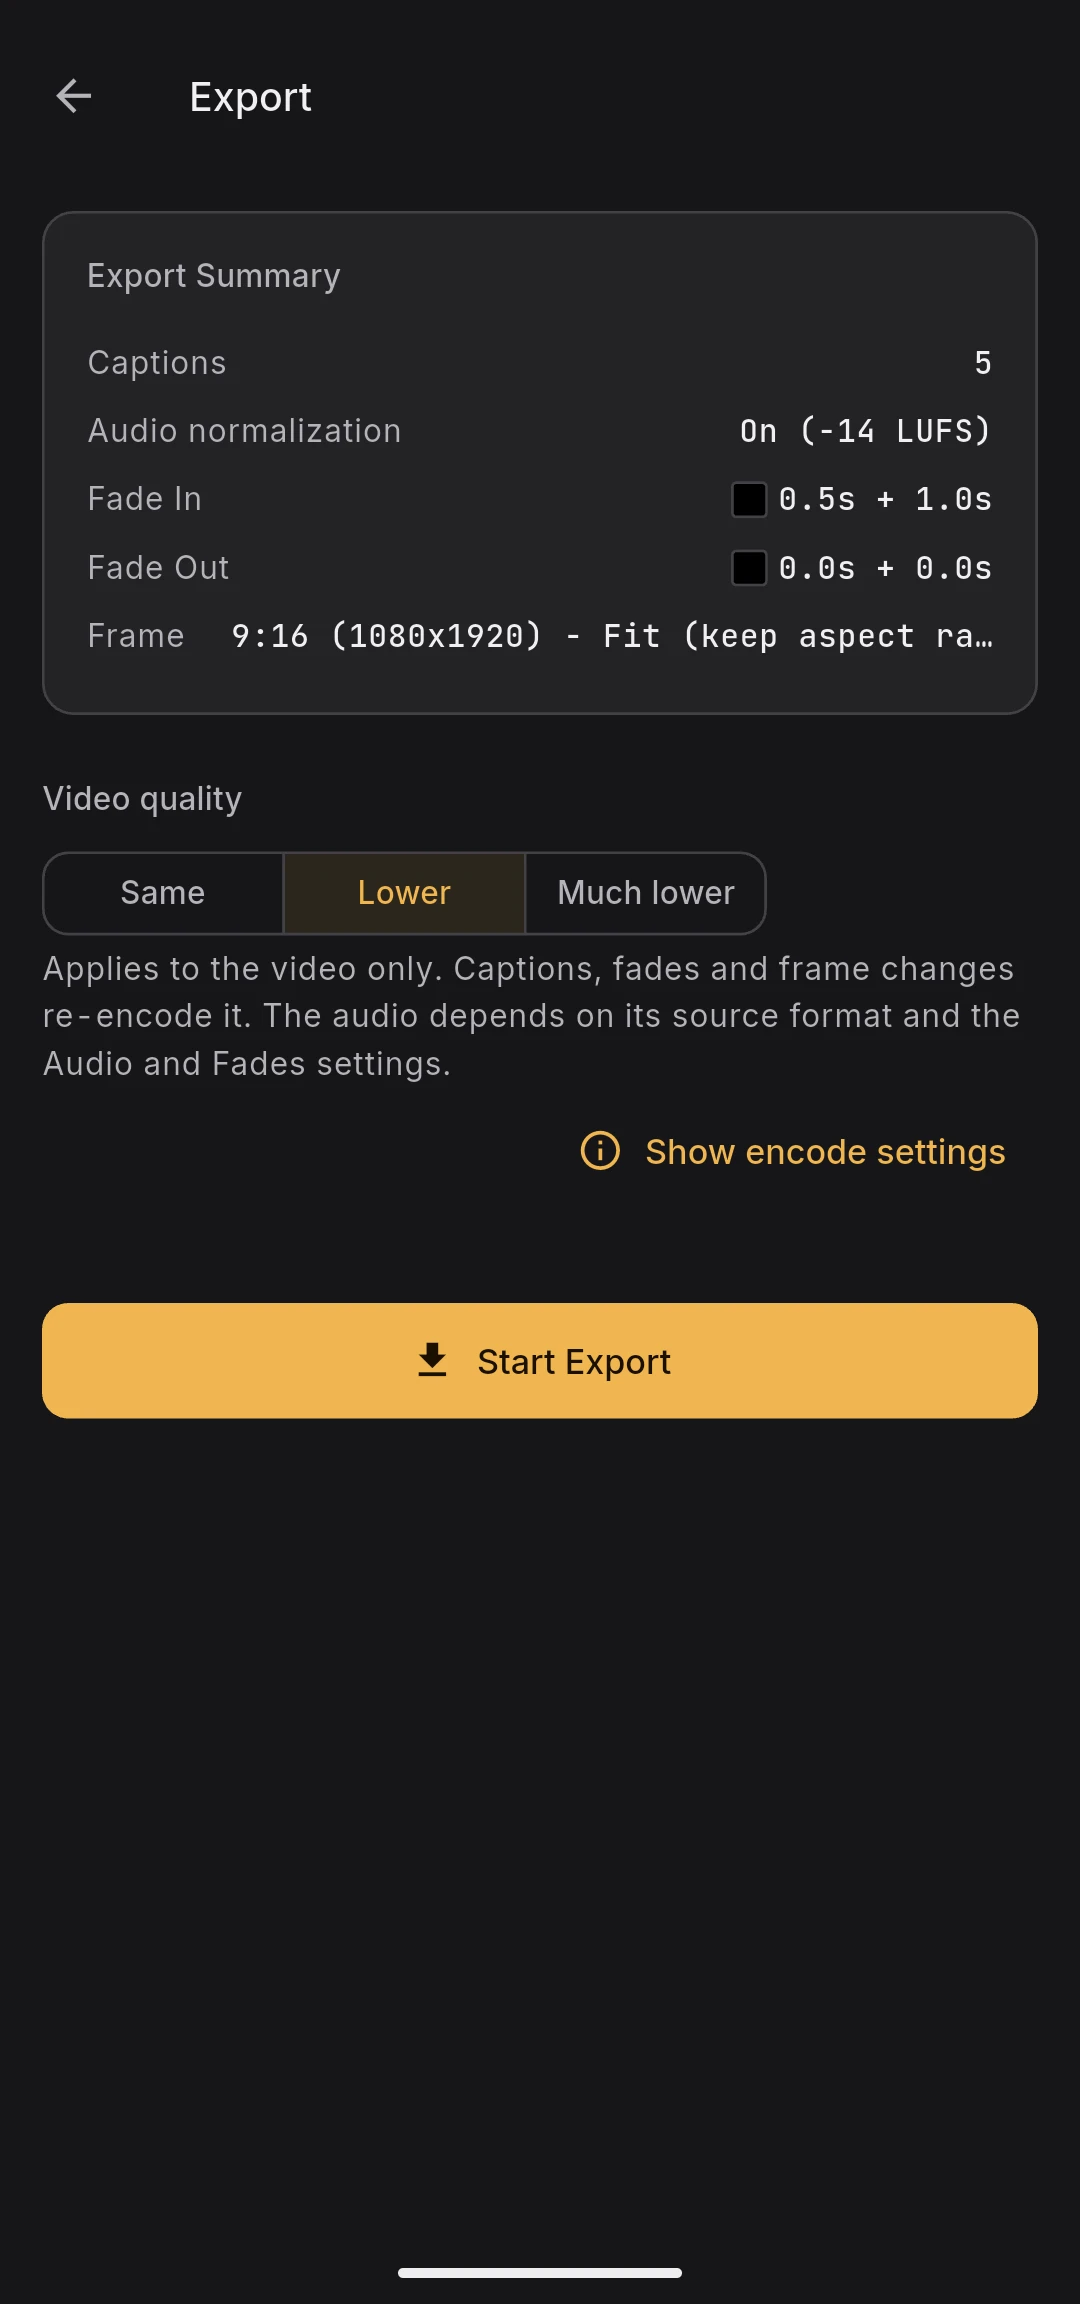
Three choices, and they apply to the picture only:
- Same — aim for the source's own bitrate
- Lower — aim below it
- Much lower — aim further below
Whether the audio is re-encoded is a separate question, decided by its source format and by your Audio and Fades settings.
"Same" does not mean "untouched". If anything rewrites the picture — a caption, a fade, a frame change — the video has to be re-encoded, and a re-encode is never pixel-for-pixel identical to its source. What "Same" holds on to is the bitrate it aims for. When nothing rewrites the picture, the video stream is copied instead, and then it really is identical.
Nor does "Lower" guarantee a smaller file. If the source's bitrate cannot be read, the target is derived from the frame size instead, and a very low-bitrate source can come out larger than it went in. The encode settings dialog below tells you which case you are in.
The setting is disabled while an export is in progress.
What this export will actually do
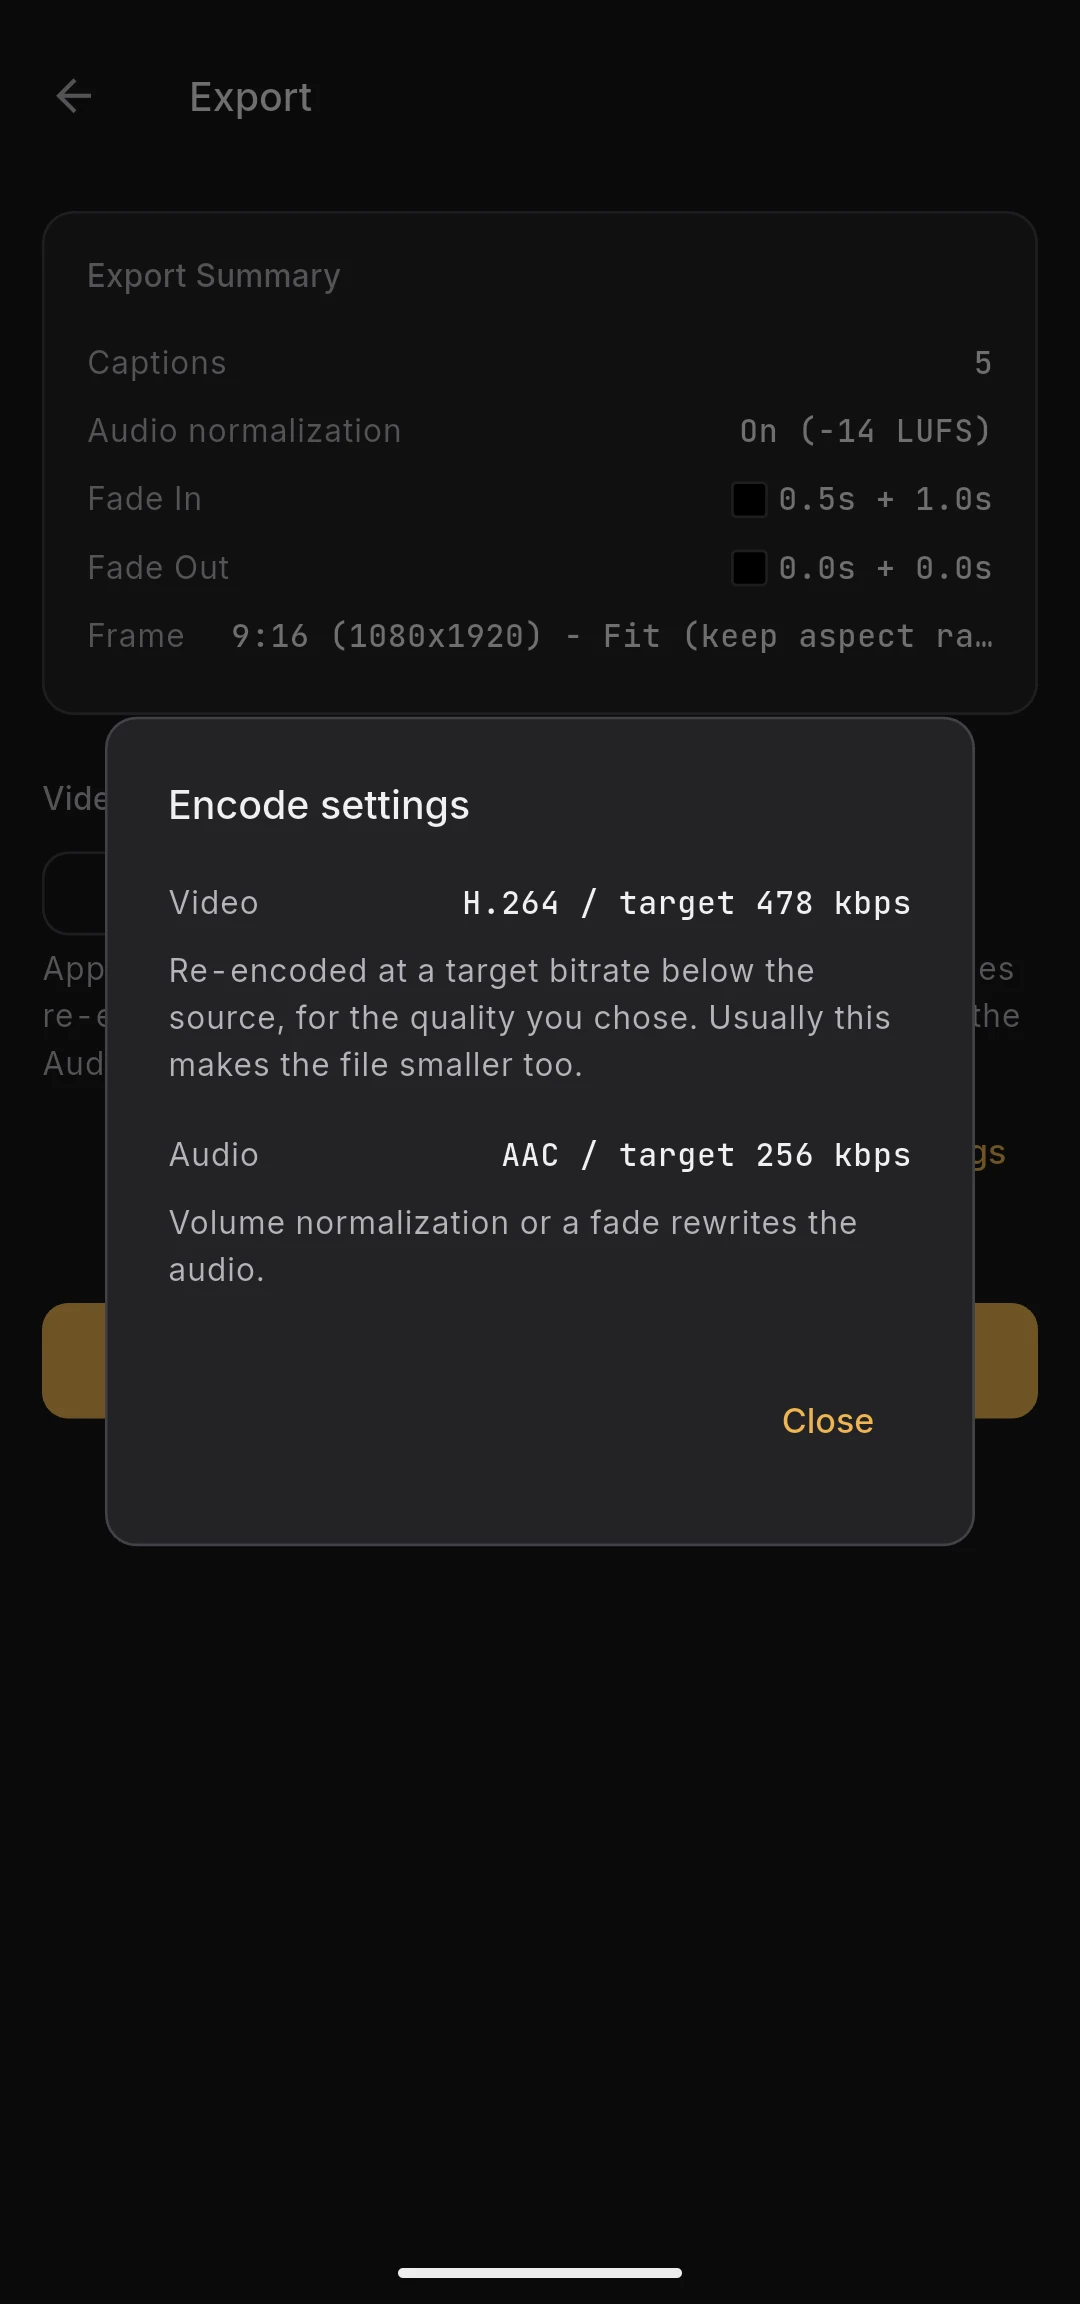
Tap Show encode settings, below the quality selector, to open a dialog that reports per stream what is about to happen and why. It reads from the same plan the export itself runs, so what it says cannot drift from what you get.
Each stream is either copied as-is or re-encoded to a named codec at a target bitrate, with a one-line reason:
- Nothing changes this stream, so it is carried over untouched
- A caption, fade or frame change rewrites the picture
- Re-encoded at a target bitrate below the source, for the quality you chose
- Converted so the result plays on the widest range of devices
- Volume normalization or a fade rewrites the audio
If the source is HEVC and the picture has to be re-encoded, the output stays HEVC to avoid throwing away quality — the dialog says so, because some places you share it may not accept HEVC.
Warnings
Some sources cannot be carried through unchanged. When that applies, the Export screen says so before you start:
- HDR — converted to SDR, so colours and brightness change, and the export takes noticeably longer
- More than 8 bits per colour — written in 8-bit, so gradients may band
- More than one audio track — one is written, the rest are dropped
- Subtitle tracks — not carried over. Captions added in BareVid are burned into the picture, which is a different thing
These warnings appear only when they apply to what you are about to export. A stream that is copied rather than re-encoded keeps whatever it had, so the picture-quality warnings do not appear in that case — but the dropped-track warnings do, because a copy still writes only one audio track and no subtitles.
Some Dolby Vision sources cannot be exported with edits at all. Where the base layer's format cannot be identified, converting it would break the colours, so the export button is disabled and the reason is shown. Setting the picture back to unchanged lets it through, because a copy cannot get the colours wrong.
During export
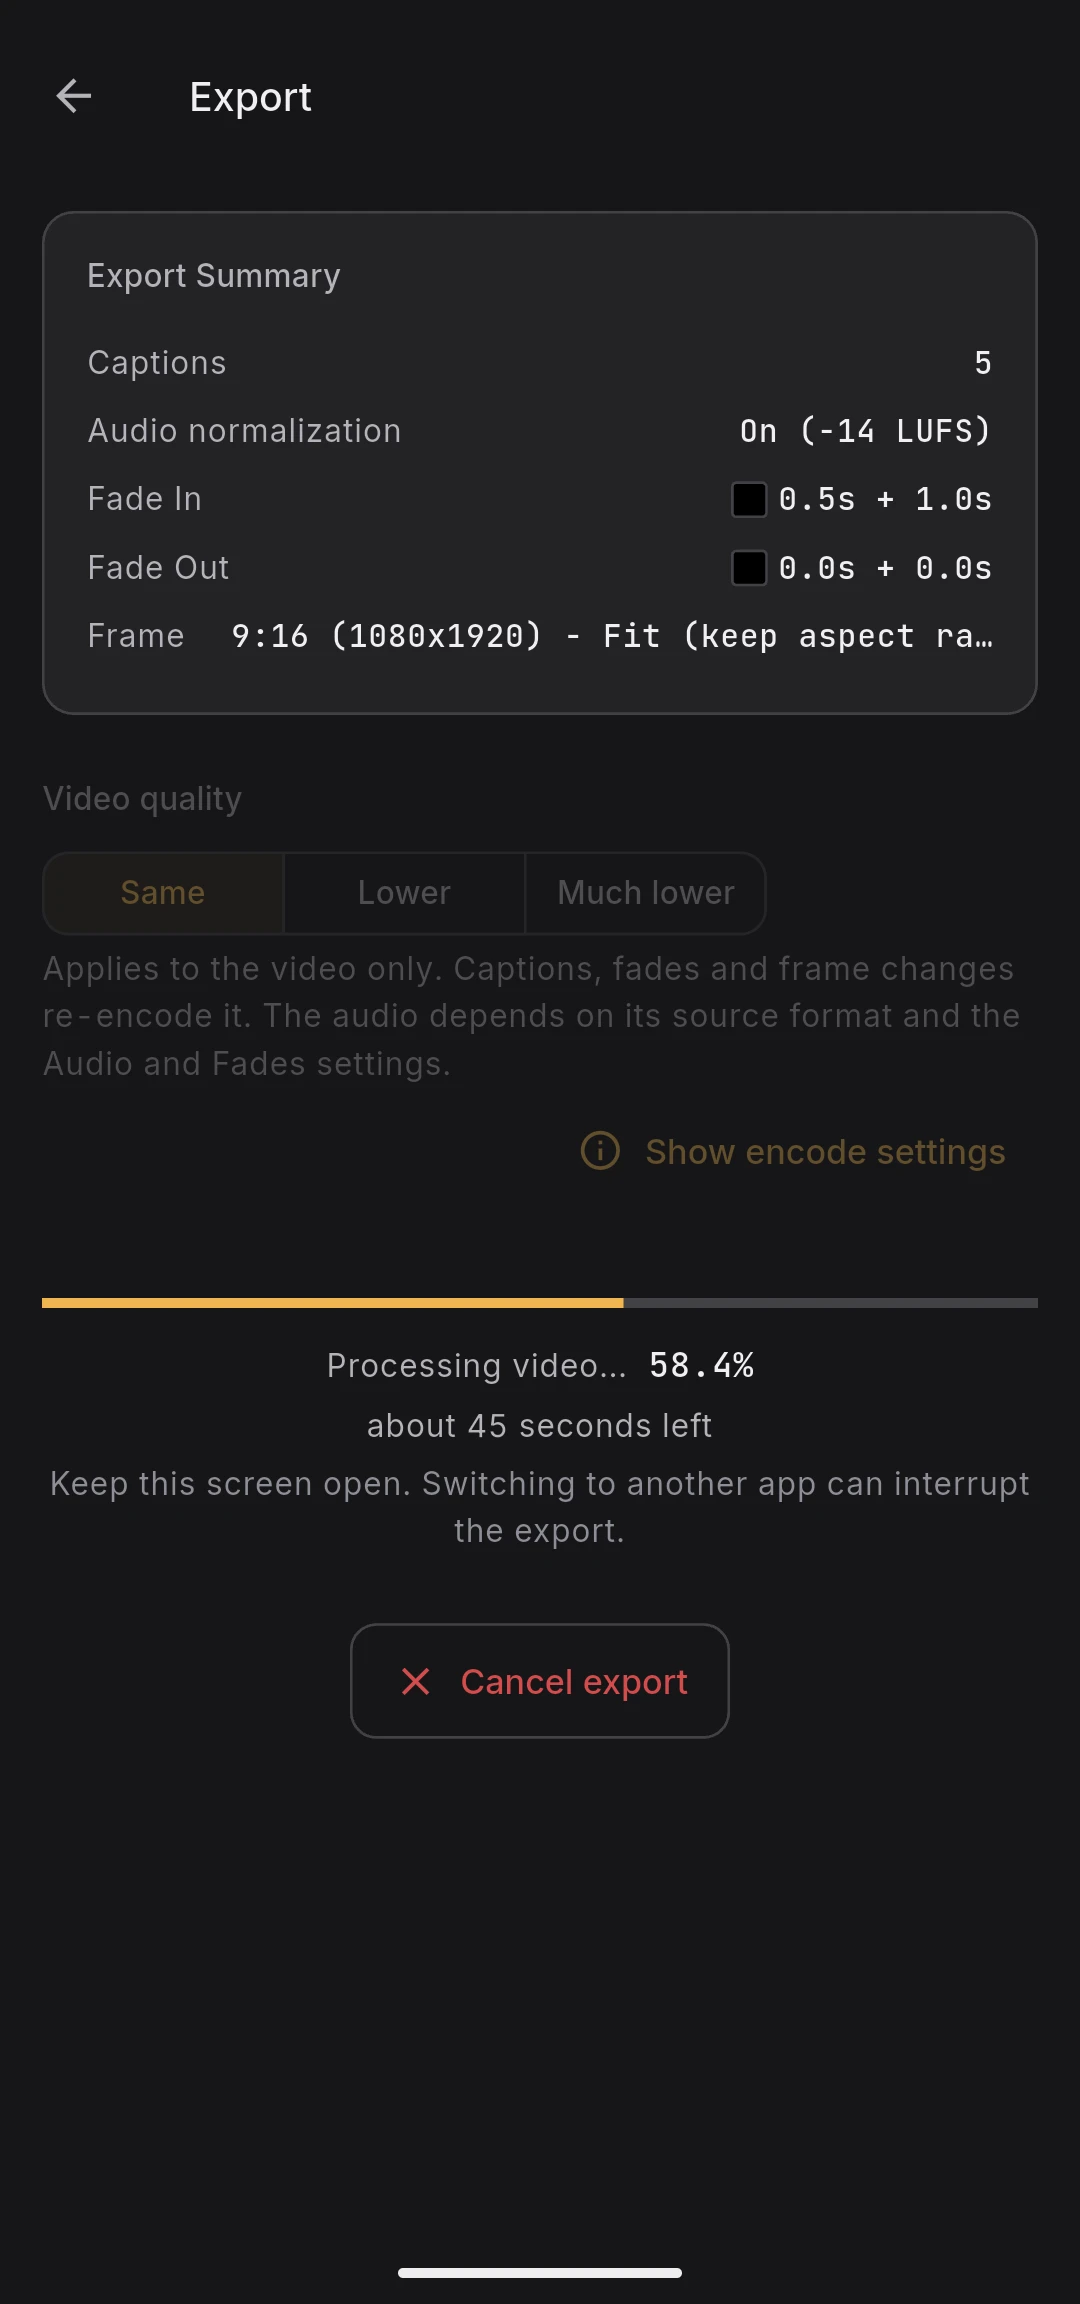
- A linear progress bar shows overall progress
- The status label below switches between Preparing, Processing video, and Saving as the pipeline advances
- The percentage is shown as a monospaced number so it stays readable while updating
- An estimated time remaining appears once the export has settled into a steady rate. It is measured from this export's own throughput, on this device, so it accounts for the source and the effects you chose
- The screen is kept on automatically until the export finishes, so an idle device will not auto-lock and pause the encode
Exports can take a while on longer videos because BareVid runs FFmpeg on the device, and an HDR source takes several times longer again. Keep the app in the foreground — switching apps or closing BareVid can pause or stop the export, and there is no resume mechanism.
Cancelling an export
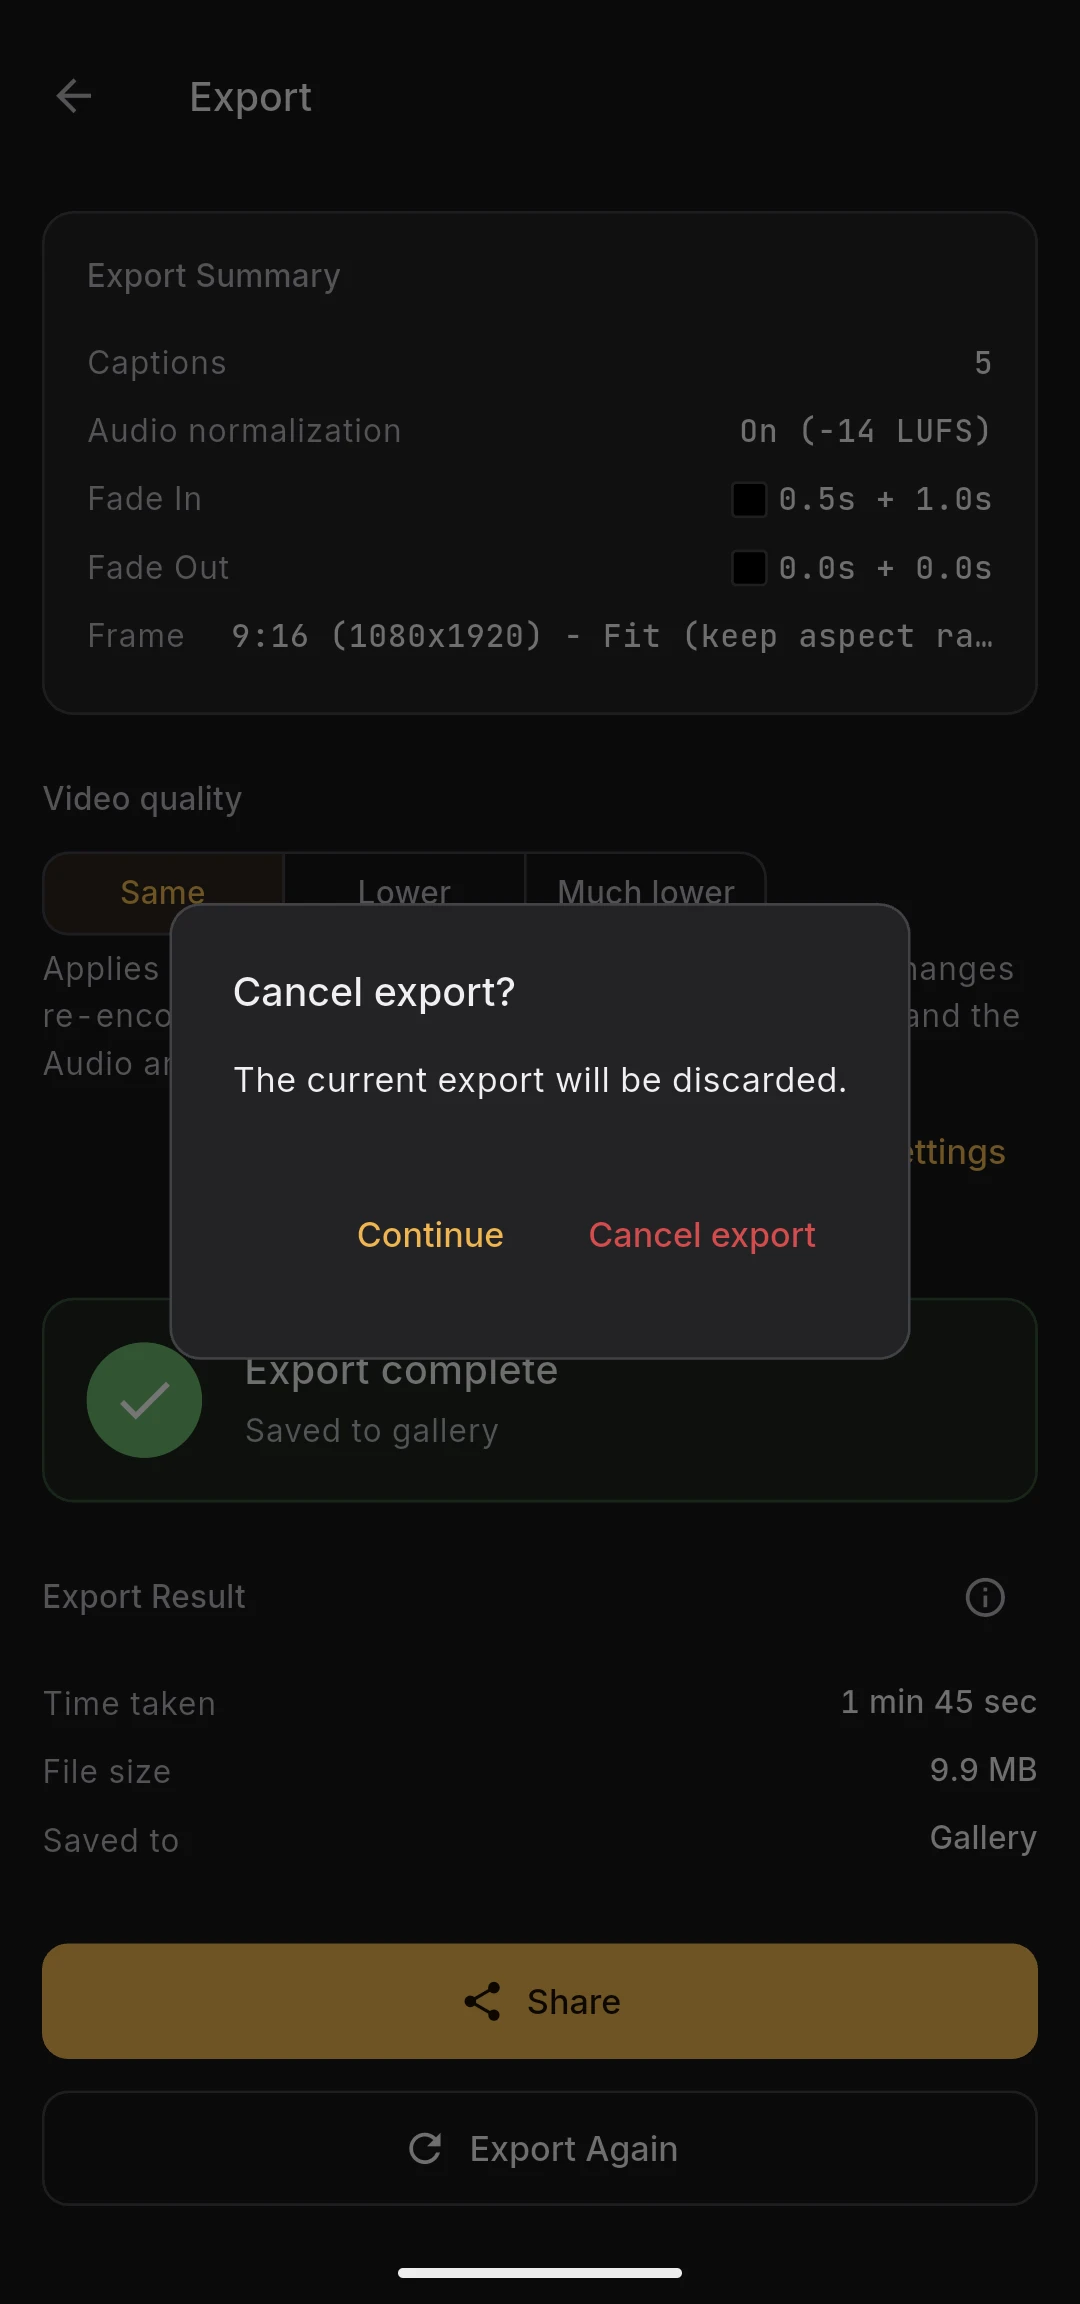
Tapping the back arrow in the top-left corner during an export brings up a confirmation dialog. Choose Cancel export to stop FFmpeg immediately and return to the edit screen — the partial output is discarded and nothing is saved to your gallery. Choose Continue to dismiss the dialog and let the export run to completion.
Once the export has finished (or failed), the back arrow returns to the edit screen normally with no confirmation.
If the export is interrupted
If you swipe BareVid away or the OS kills the app partway through an export, that run is lost — the partial output is never saved to your gallery and you'll need to start the export again from scratch. Leftover incomplete files in the app's temporary storage are cleaned up automatically the next time BareVid launches, so they do not pile up over time.
Encoding details
- Video encodes run through the OS-provided hardware encoder APIs
- H.264:
h264_mediacodecon Android,h264_videotoolboxon iOS - HEVC:
hevc_mediacodecon Android,hevc_videotoolboxon iOS
- H.264:
- Captions burned in via ASS subtitles
- Fades applied via the FFmpeg
fadeandafadefilters - Audio normalization via a two-pass loudnorm with automatic fallback (see Audio Tab)
- Output is always written as MP4
Not every device supports HEVC hardware encoding. If an HEVC export fails, BareVid automatically retries the same export as H.264, so you may occasionally see the progress bar restart from 0 % (this is the H.264 fallback).
BareVid ships no encoder of its own — every video encode is performed through the platform's hardware encoder API (Android MediaCodec / iOS VideoToolbox). This gives us two things at once:
- Licensing: FFmpeg is an LGPL build with no GPL codecs (
libx264,libx265). HEVC patent licensing for these APIs is handled by the device manufacturer at the OS level - Performance: hardware encoding is significantly faster than software encoding on mobile devices
After export
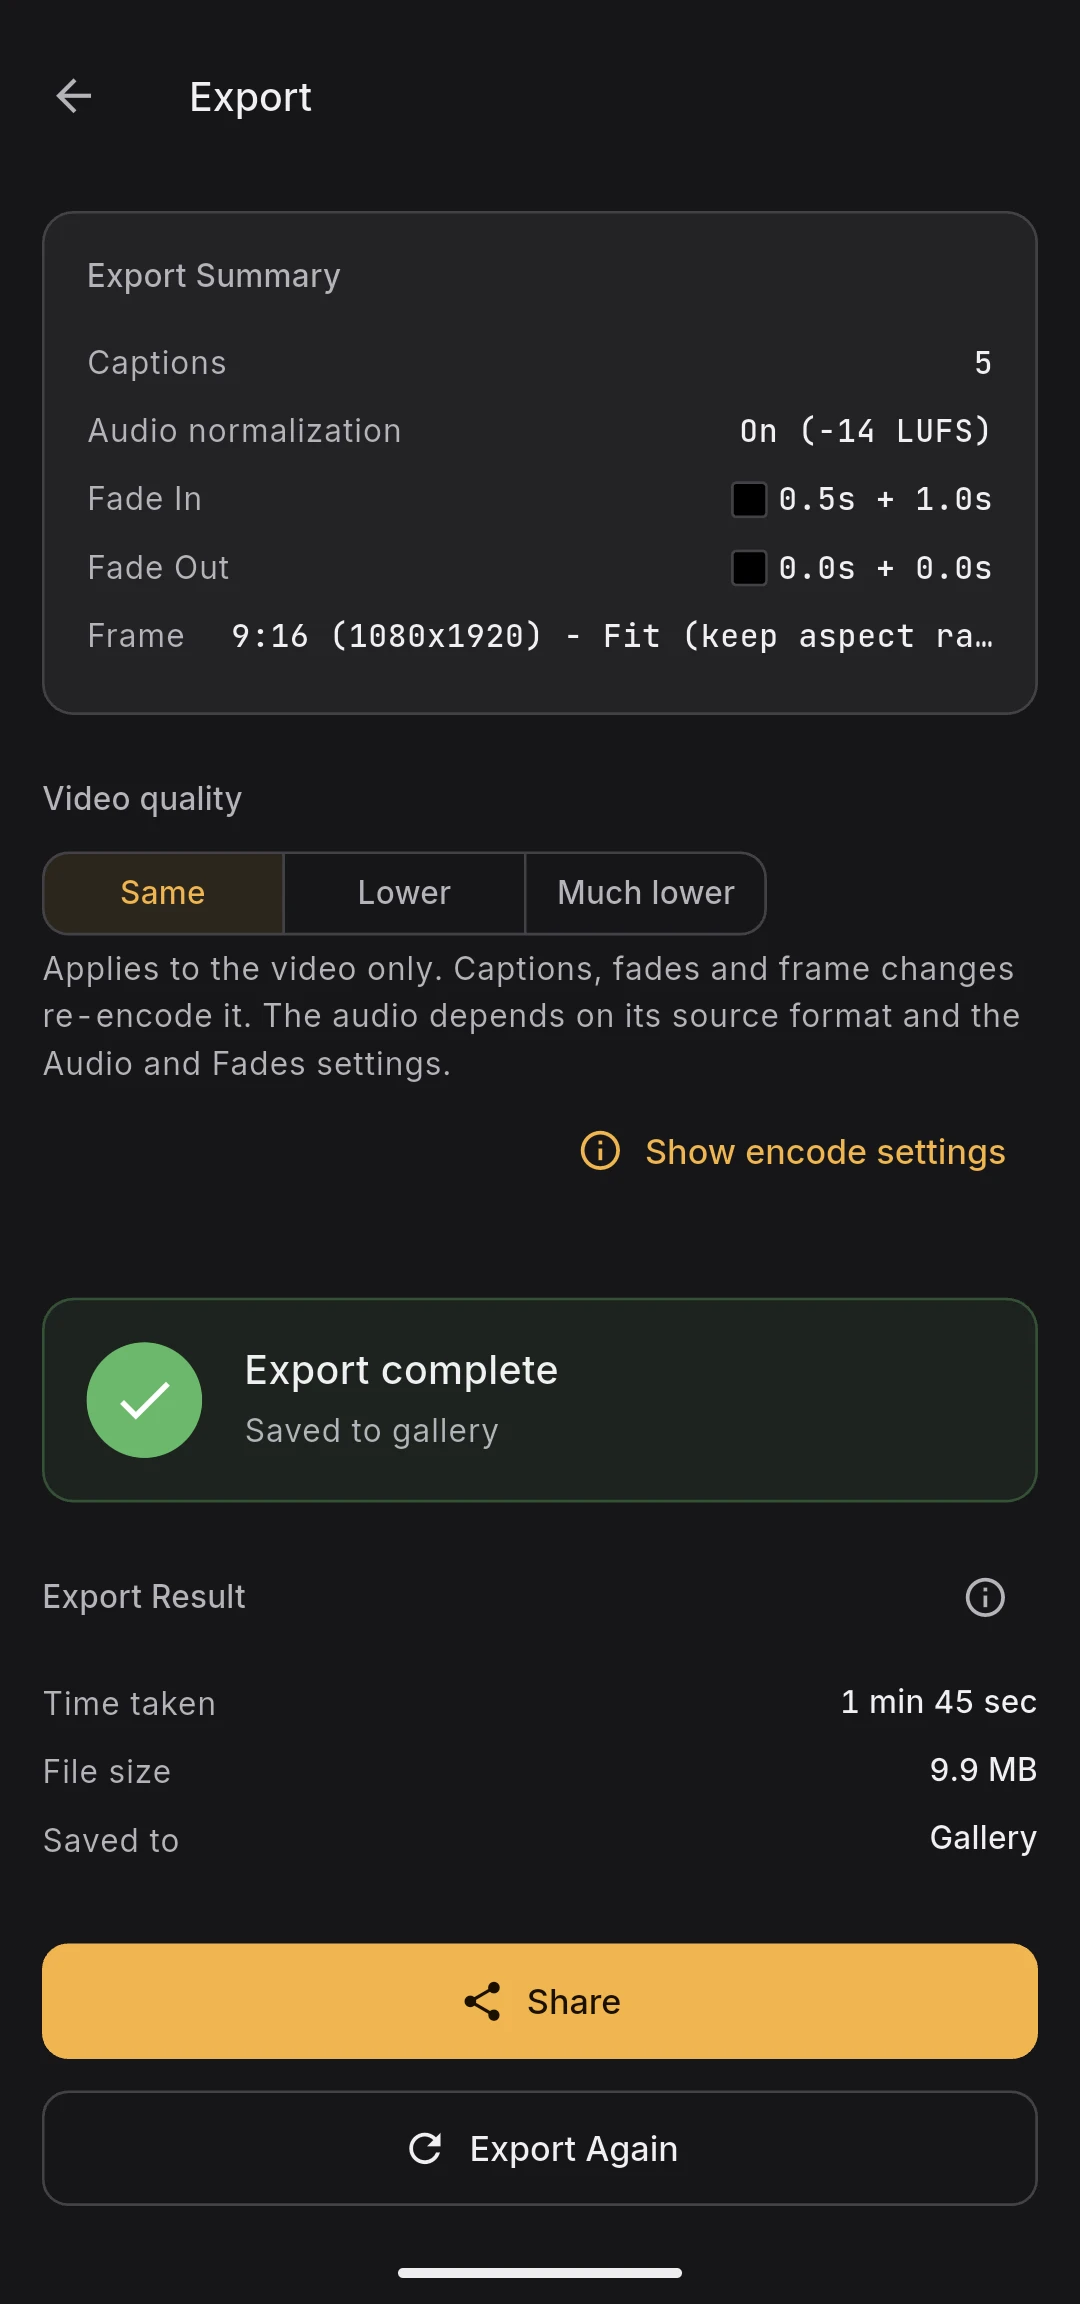
The result panel stays visible so you can compare runs.
- Time taken — wall-clock duration of the export
- File size — size of the generated file
- Saved to — the album the file was written to
The file is saved automatically to your device gallery when encoding finishes, and a snackbar confirms the save. Tap Export Again to re-run with different settings without leaving the screen.
Diagnostics
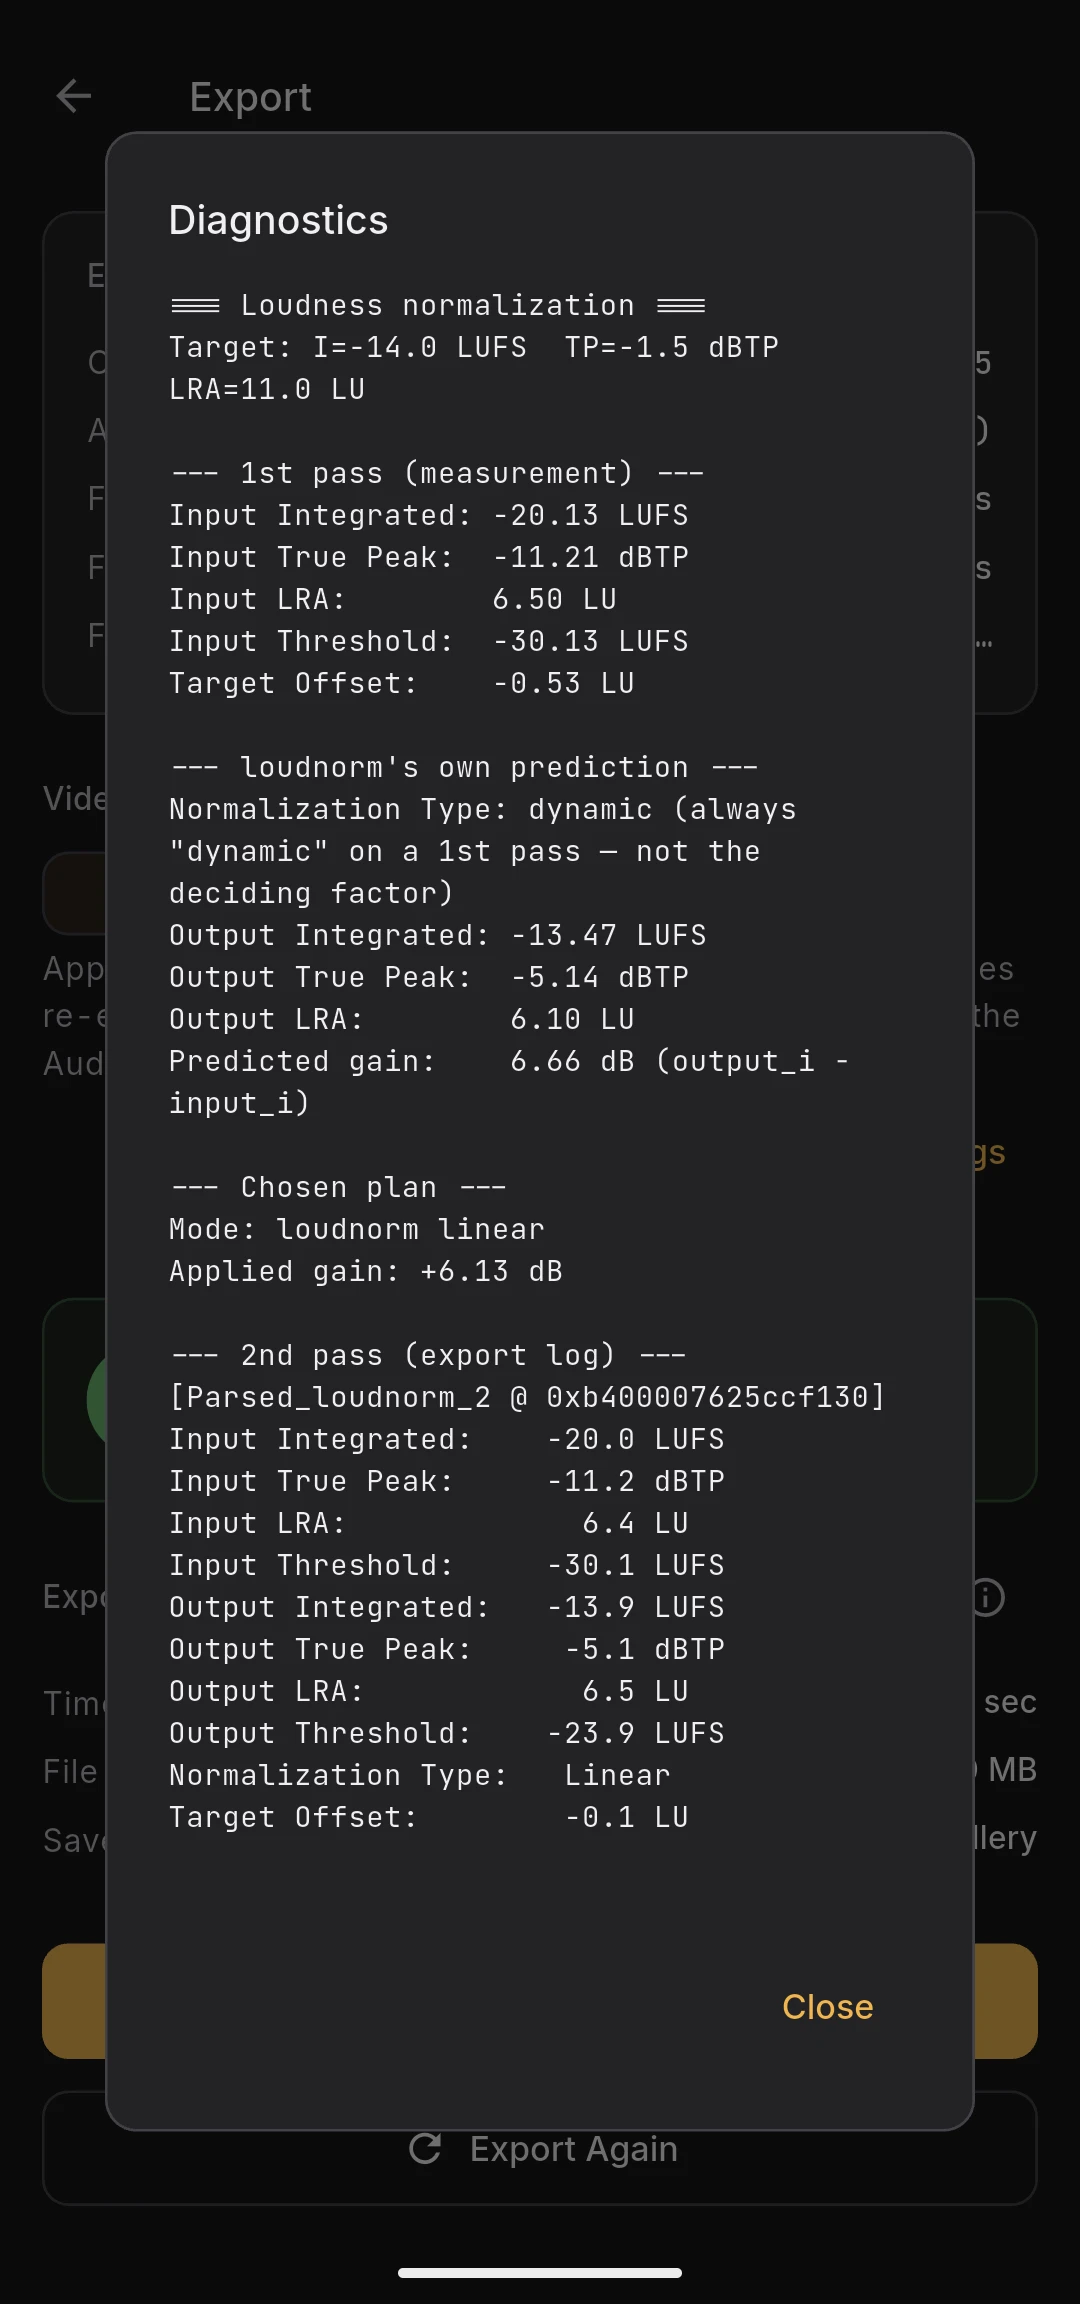
If audio normalization ran, an ℹ button appears next to the result header. It opens the diagnostics dialog with:
- First-pass loudnorm measurements (input integrated, true peak, LRA, threshold, target offset)
- Predicted normalization type and predicted output values
- Selected plan (mode, applied gain, estimated output, fallback reason if any)
- Excerpts from the FFmpeg log for the second pass
This is useful when the result sounds unexpected — you can see exactly which mode was chosen and why.
If export fails
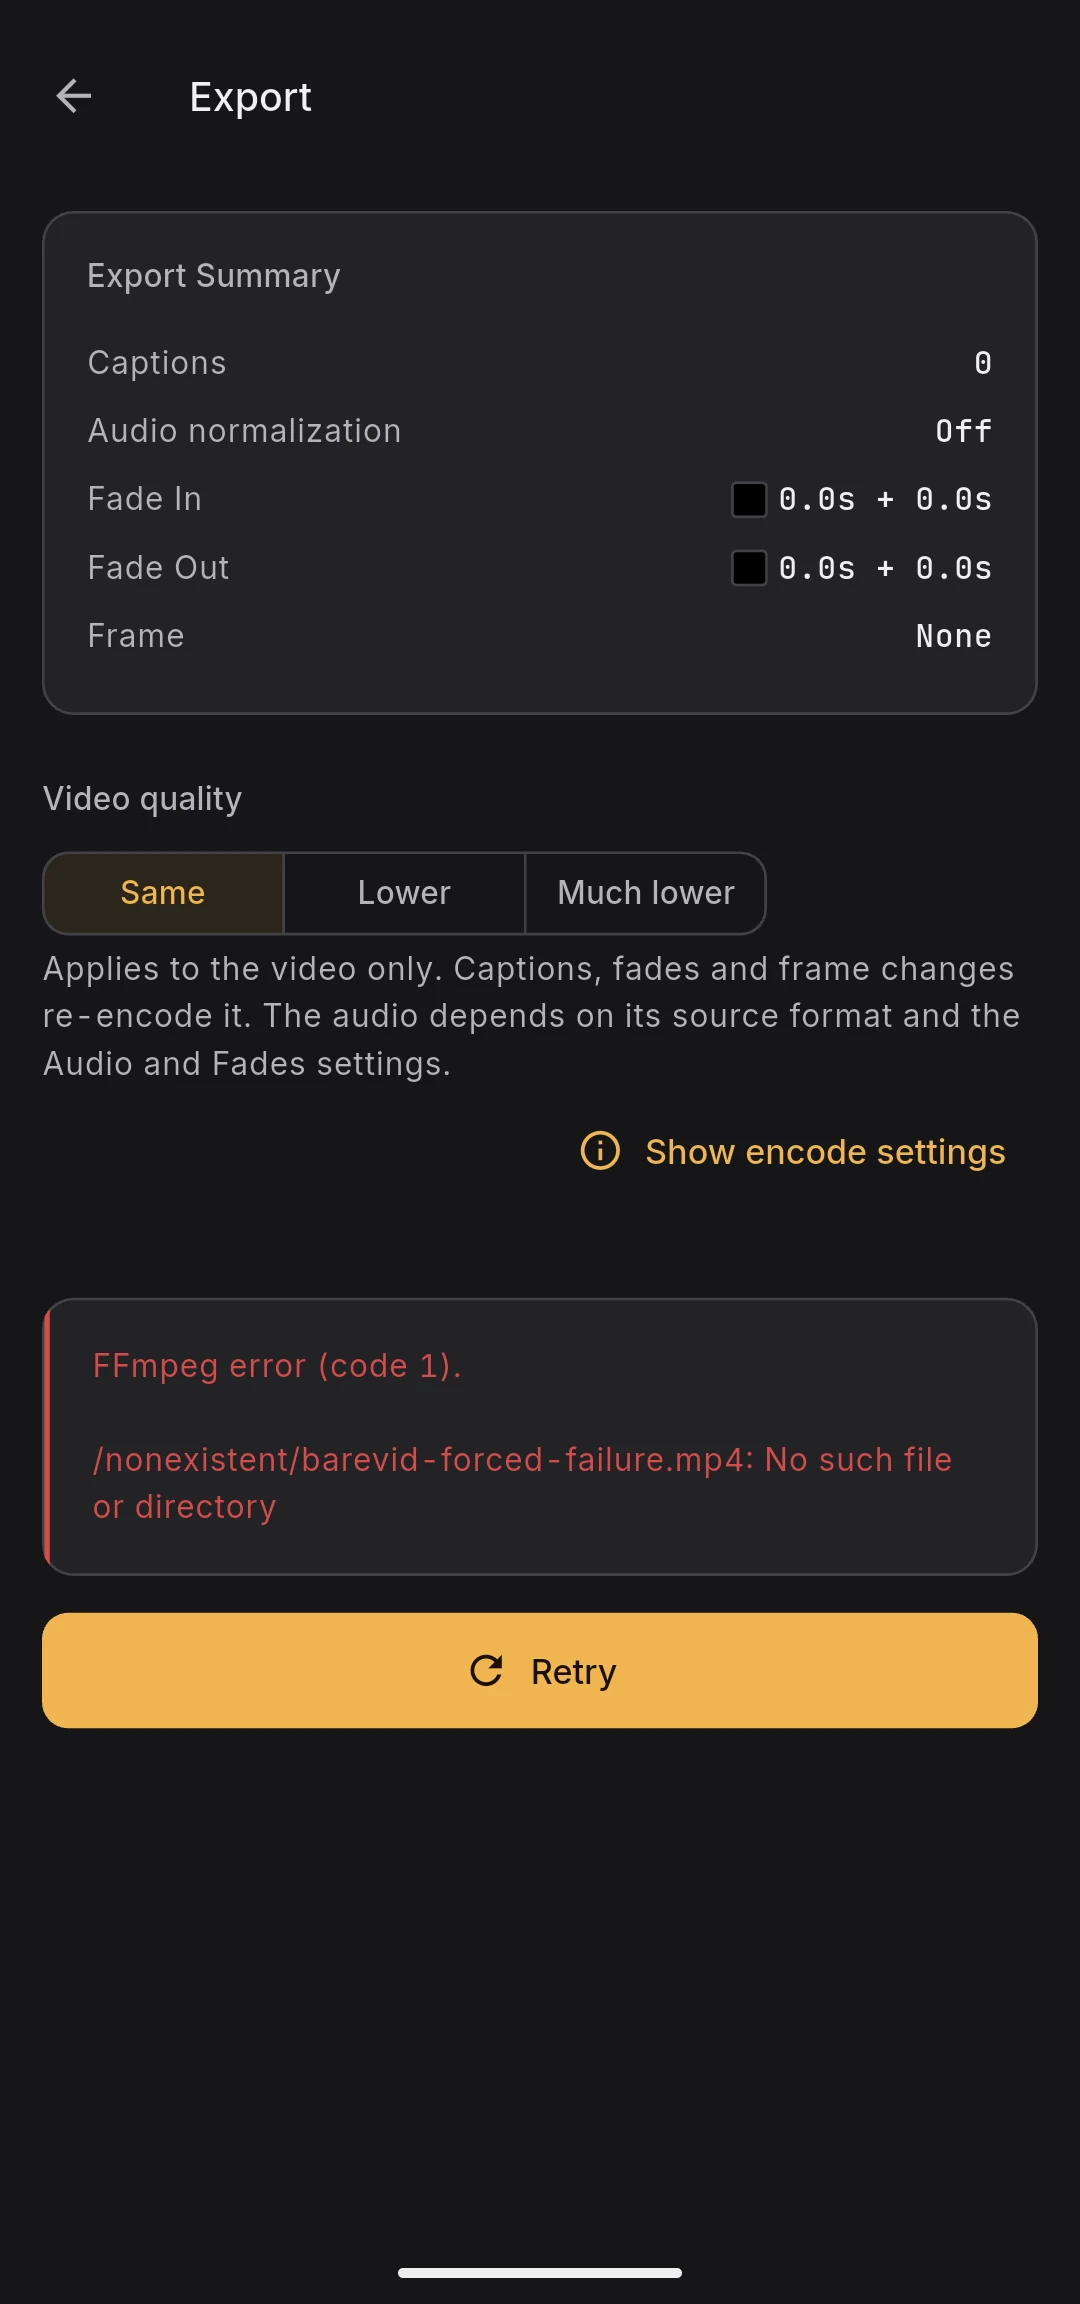
Failed exports show an error panel with the FFmpeg message and a Retry button. The original source file is never modified, so you can safely retry or adjust settings and start over.